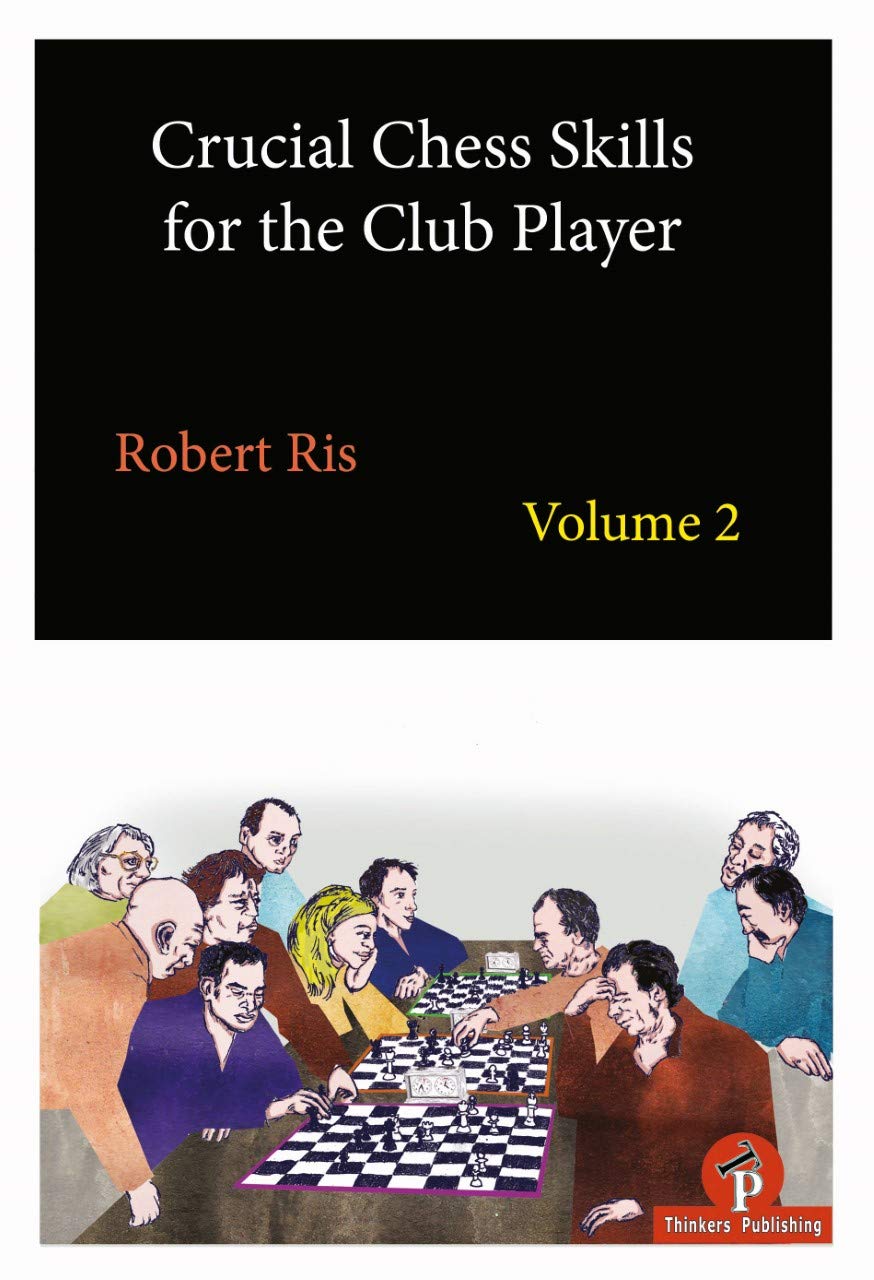
Robert Ris is an IM from the Netherlands who spends a lot of his time training other players, and it shows in the clarity of explanation in this book, in which the material is split into eleven chapters, followed by forty exercises, then their solutions.

The first six chapters cover the roles of pieces, primarily using endgame positions to bring out ideas in sharpest relief, although some chapters require middlegame positions. The next five chapters cover various types of material imbalance. These chapter titles are:-
- The role of the king in the ending
- Same-coloured bishop endings
- Opposite-coloured bishop endings
- Initiative in opposite-coloured bishop endings
- Bishop v knight
- The power of major pieces
- Queen vs. two rooks
- Two minor pieces vs. rook
- Worth of a queen
- Exchange sacrifice
- Piece vs. pawns
The material covered here can be found in many other books, but what differentiates the coverage in this book, in addition to the aforementioned clarity of explanation, is the analysis of sidelines. There is a difficult balance to strike here. Too many sidelines, too much detail and you lose the reader’s attention. To few sidelines, too little detail and you aren’t answering the reader’s questions. In my opinion Ris gets the balance exactly right.
Here is example to illustrate Ris’ style. It’s from Chapter 6 (The power of major pieces) and illustrates the idea of combining files and ranks:
The occupation of an open file is not a goal in itself, but rather a first step in strengthening your own position. In the previous example we have seen the impact of major pieces controlling the only open file. From there they were enabled to infiltrate the seventh rank with devastating effect. The following game nicely shows that with one extra pair of rooks the side with the initiative is able to pose even more problems. By employing the other rook laterally White creates extra threats against the king.
Bacrot, Etienne (2730) v Giri, Anish (2749), Germany 2013
19.b4!
White makes use of the unfortunate placement of the black king on g7 to prepare the advance of the c-pawn. Clearly inferior is 19.cxb5? axb5 when Black becomes active on the a-file.
19…bxc4
This is practically forced, because after 19…Rac8 White plays 20.c5! dxc5 21.bxc5, and Black can’t now take on c5 in view of Qd4+, while after other moves the pawns on c5 and d5 are very powerful, dominating Black’s major pieces.
20.Rxc4 h5
A) First of all, Black is unable to start disputing control over the c-file, as 20…Rac8? fails to 21.Qc3 winning the rook.
B) With the text Black admits that the possible rook lift to h4 is very dangerous for him. The alternative 20…f6 is not much fun to play either. White has the luxury of being able to choose between playing for an attack on the kingside, pressurizing the backward pawn on the e-file or simply mobilizing his queenside majority. The latter is a good option and moves like a4, Qc3 and Rc6 are very useful. The black pieces have been paralyzed and even though there is no immediate way for White to break down the barricades, Black’s task of avoiding any concessions seems to be much harder.
21.Qc3+ Kg8
21…f6 is met by 22.Rc7 followed by taking on e7.
22.Rc7 Qb6
23.a4!
Superb technical play by Bacrot, who doesn’t get tempted into winning a pawn with 23.Rcxe7? Rxe7 24. Rxe7, because after 24…a5 Black obtains reasonable counterplay and drawing chances despite the minus pawn.
23…Rab8 24.Re4!
The point of White’s play. His queenside majority is well supported by the major pieces and Black doesn’t get a single chance to create counterplay. After the text White is ready to expose the black weaknesses on the kingside with the powerful break g2-g4.
24…f6
A) They say that in bad positions mistakes are easily made, but what else should Black do? The attempt to simplify the position with 24…Qxc7 25.Qxc7 Rbc8 backfires in view of 26.Qc6! Rxc6 27.dxc6 and the white pawns are too strong.
B) Trying to reduce the pressure on the seventh rank with 24…Rb7 is strongly met by 25.Rexe7! Rxe7 26.Rc8+ and mate on h8.
C) 24,,,a5 will always be met by 25.b5! The only conclusion we can draw is that Black is in zugzwang!
25.g4! Rb7
Giri overlooks a nice tactical shot and can resign immediately, but his position was already impossible to defend. A great illustration of White’s dominance is seen in the following variation where Black is attacked from all sides: 25…hxg4 26.Rxg4 Kf7 (Black also collapses after 26…Kg7 27.Qc2 g5 28.h4) 27.Rh4
(27.Qc2 f5 is less convincing) 27…Rh8 (27…g5 leads to mate after 28.Rh7+ Kg6 29.Qd3+ f5 30.Qh3 Kf6 31.Qc3+ Kg6 32.Qg7#) 28.a5 Qb5 29.Qe3 Rhe8 (29…Rxh4 30.Qxe7+ Kg8 31.Qg7#) 30.Rh7+ Kg8 31.Qh6 and mate on g7.
26.Qxf6!
Black resigned, in view of 26…Qxc7 (26…exf6 27.Rxe8#) 27.Qxg6+ Kh8 (27…Kf8 28.Rf4#) 28.Re6! Qc1+ 29.Kg2 and there is nothing Black can do against Qxh5, Rg6 and Qf5 mate.
1-0
So what do you think? For me this is just the right amount of description and analysis. For you it may be too little or too much, but this is broadly what you’re going to get from Ris in this book (there are some exceptions where more analytical detail is given, but only when it’s unavoidable.)
Moving on to the next five chapters on material imbalances, Ris himself remarks in the Preface: “Of course these topics have been discussed in other works as well, but I can offer you a lot of fresh examples from the highest level as well as quite a number of games from my own practice.” Modesty inhibits him from saying that he explains these imbalances as well as anyone and better than almost all.
Here is an example from Chapter 10 (Exchange sacrifice) subtitled “Knight v rook: the octopus”
Ris, Robert (2419) v Beliavsky, Alexander (2597), Reykjavik 2017
Everything had gone wrong for me in the early middlegame. I had lost an exchange, was down one hour on the clock and was basically hoping not to lose in 25 moves. With a bit of fortune on my side, I have managed to avoid an immediate disaster and still reach some sort of playable position. The main reason for that is my knight on d6 (in chess terminology called thge octopus!), which restricts the mobility of the black rooks. The only open file has been kept closed by the knight (and the very important pawn on e5!), so there is no immmediate way to activate the rooks and exploit the material advantage.
24.e4 b5
It looks very logical to mobilize the queenside majority, aiming to create a passed pawn and open the files for the black rooks, either to invade White’s position or just to liquidate into a winning endgame thanks to the material plus. We will see that this plan of advancing the pawn majority simply takes too much time and is therefore unrealistic to carry out. Opening the files for the rooks is the right plan, though, but it needs to be carried out in a different way.
Correct is 24…f6! which is a move I considered at various moments during the game, but I also thought that weakening the kingside would give me reasonable practical chances with three powerful pieces standing ready to attack the black king. Well, that’s what I was thinking during the game with only a few minutes left on the clock, no time to calculate concrete variations.
After the intended 25.exf6? (centralizing the queen with 25.Qc3 might have been a better idea, though after 25…Rad8 Black is clearly better, and soon will try increasing the pressure on White’s centre) 25…Rxf6 26.Qe3 Raf8 White is losing his grip on the position. That’s mainly because the knight has lost the support from the pawn on e5, while the black rooks are now exerting pressure on the f-file and simply threaten to take on f4.
25.Qe3
25…Qb6
A) In case of 25…b4 it had been my intention to follow up with 26.f5 and Black has to watch out for White’s mating threats with Qh6 and f6.
B) 25…f6! would still have been a very reasonable option.
26.Qg3 Qa5 27.Rf2 b4 28.f5 c3 29.bxc3 bxc3 30.Qf4!
30.f6? would have been a serious mistake, as it allows Black to close the kingside with 30…h6! 31.Qh4 Kh7 and there is no convenient way for White to continue the attack, as his own king is too exposed.
30…c2?
During the game I was very optimistic about my chances here, but it turns out that there is still a way to stop White’s attack.
A) Correct is 30…exf5 31.gxf5 f6
and the position is still quite balanced, e.g., 32.exf6 Rxf6 33.e5 Qd5+ 34.Qf3 Qxf3+ 35.Rxf3 Rff8 36.Rxc3 gxf5 37.Rg3+ Kh8 38.e6 and soon White will win back the exchange, resulting in a drawn rook ending.
B) It’s worth pointing out that the immediate 30…f6? is inferior, in view of 31.exf6 Rxf6 32.e5 Rff8 33.f6 ansd White retains a very dangerous attack.
For example, 33…Kh8 34.Qh6 Qc7 35.Rf3 c2 36.Rc3! and after White picks up the c-pawn, Black remains very passive as he still can’t activate the rook while the queen needs to cover the seventh rank.
31.f6! Qxe5
31…Kh8 32.Qh6 Rg8 33,Nxf7#.
32.Qh6!
Black resigned, as the only way to avoid mate is 32…Qxf6 33.Rxf6 but then my queen is still guarding the c1 square and White enjoys a huge material advantage.
1-0
In summary then, this book covers familiar ground, but it does so very impressively, with plenty of diagrams, lucid explanations and appropriate levels of analyis. In my opinion Ris’ book becomes the leader of the pack in a relatively crowded field. I commend it unreservedly.
Mark Taylor, Windsor, Berkshire, 1st February 2020

Book Details :
- Paperback : 390 pages
- Publisher: Thinkers Publishing; 1 edition (15 Feb. 2019)
- Language: English
- ISBN-10: 9492510456
- ISBN-13: 978-9492510457
- Product Dimensions: 17.3 x 2.3 x 23.4 cm
Official web site of Thinkers Publishing

